Installing Windows 11 Pro N by mistake happens often, and customers do not know until they buy a regular Pro key and then get error 0xC004F050. It is an edition issue error. You can either buy a Windows 11 Pro N key to activate the one you already have, or use our guide to switch your installation to the regular Pro version and keeps your files and apps intact.
1. Edit the Registry
- Press Start, type Regedit, right‑click Registry Editor → Run as administrator.
- Navigate to:
HKEY_LOCAL_MACHINE\SOFTWARE\Microsoft\Windows NT\CurrentVersion - Double‑click and set:
- EditionID →
Professional - ProductName →
Windows 11 Professional
- EditionID →
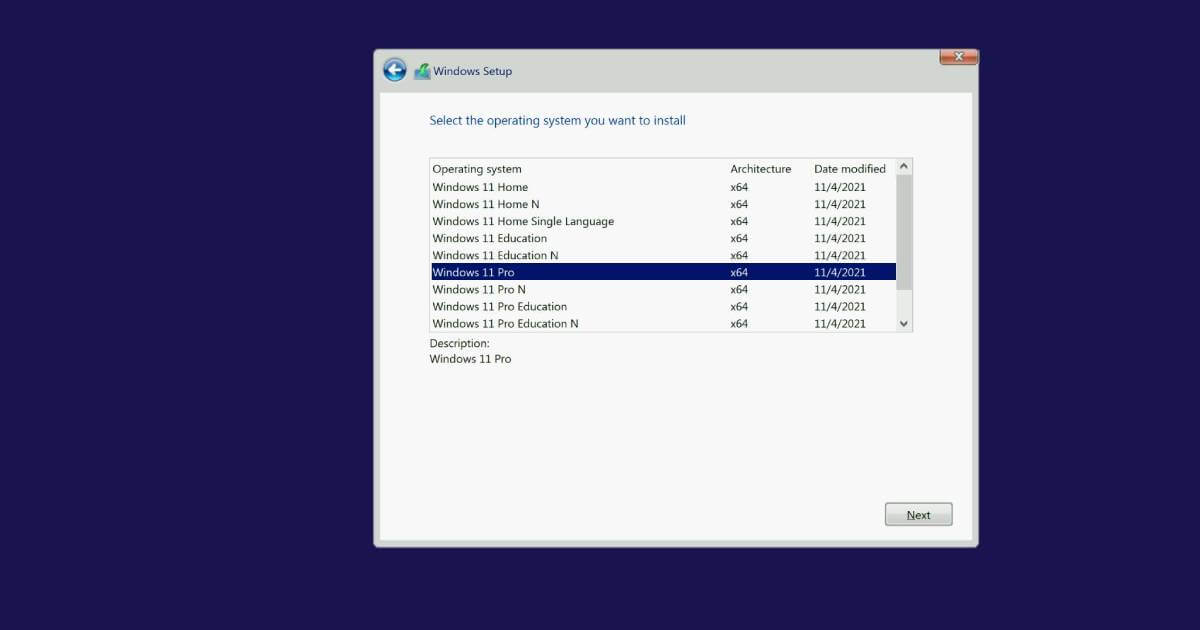
2. Launch the Pro Installer
- Mount or insert your Windows 11 Pro USB/ISO
- Run setup.exe.
- Choose Upgrade: Keep personal files and apps.
If it still shows “Pro N,” reboot and retry immediately after the registry edit.
3. Activate with a Retail Key
After changing editions, go to Settings → System → Activation and enter your genuine Windows 11 Pro key.